How To Repair A Broken Dishwasher
Fortunately, not all dishwasher problems or repairs require professional help. In fact, you, yes, you, can likely tackle most common dishwasher problems by yourself and resolve the issue in as little as ten minutes.
In the following article, we’ll go over everything you need to know about how to repair a broken dishwasher, ranging from checking the power supply to ensuring that all internal components are functioning properly.
Dishwasher Won’t Turn On
If your dishwasher doesn’t turn on or function at all, a faulty power supply is likely the source of your problem. A broken control panel with flashing lights or stuck buttons is yet another common reason why your dishwasher won’t turn on. The good news is, both issues don’t take much time or effort to fix.
Fix Power Supply Problems
-
Step 1:
Some kitchens have a switch that controls the dishwasher’s power supply. So, if you have this type of setup in your home, the first step is to make sure that it is, in fact, switched on.
-
Step 2:
Check your fuse box or breakers. Sometimes a fuse will go out or a breaker may be tripped due to a power surge or a wiring fault inside your unit. If your home has breakers, you can try turning the breaker off and back on again to see if this will resolve your issue.
-
Step 3:
If your dishwasher still doesn’t have power, check the power cord. If the power cord is plugged into a wall outlet, you might try testing a lamp or some other small appliance to see if the outlet has power.
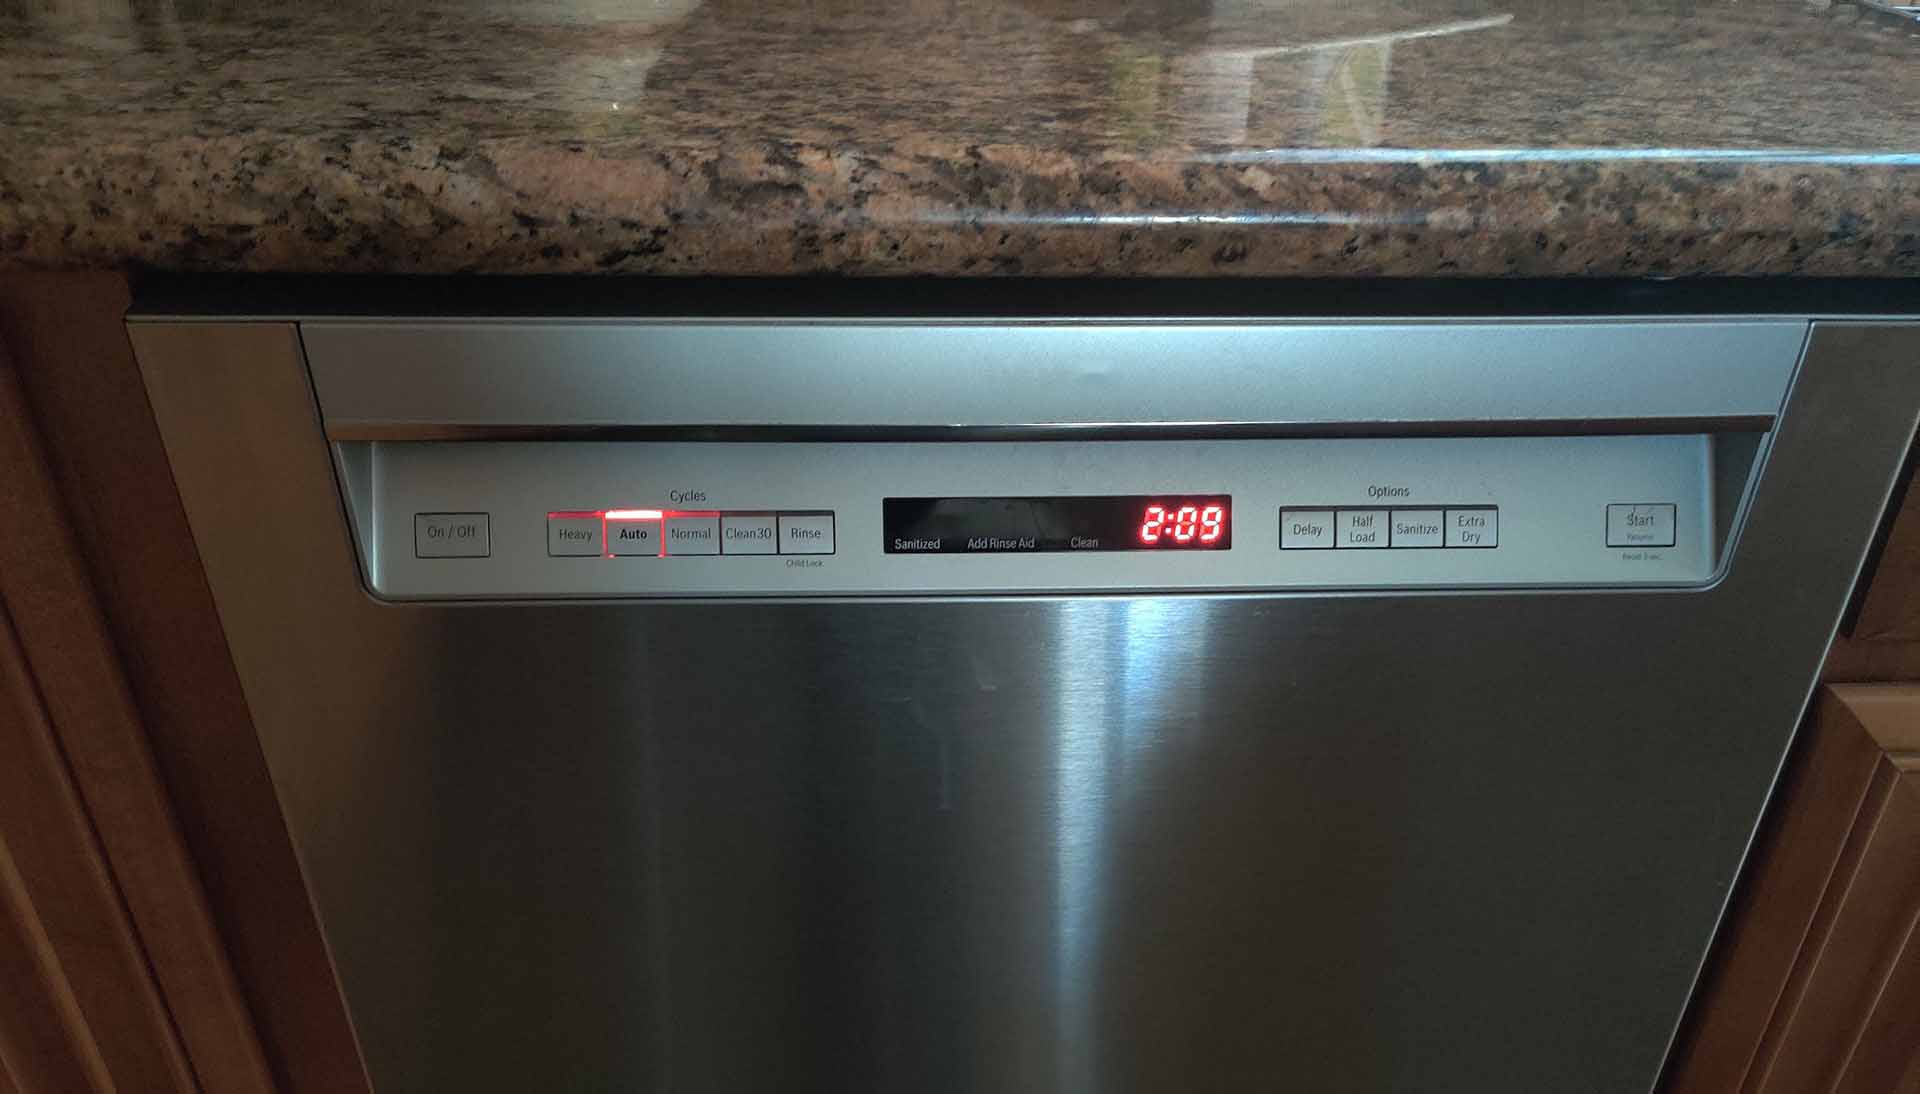
Replacing The Control Panel
Alternately, if you need to replace the unit’s control panel, you can do so by following the steps laid out below.
- Step 1: Turn off the circuit breaker connected to the dishwasher.
- Step 2: Open your dishwasher door.
- Step 3: Remove the screws from the inner door panel.
- Step 4: Fold the control panel forward and down.
- Step 5: Gently remove the door latch wiring.
- Step 6: Gently remove the control board from the control panel.
- Step 7: Disconnect the control panel from the control board by sliding out the connecting ribbon.
- Step 8: Set up the replacement control panel with the control board by sliding the connecting ribbon back into the control board.
- Step 9: Set the control board back into the control panel.
- Step 10: Reset the door latch wiring.
- Step 11: Put the new control panel into the dishwasher door.
- Step 12: Use the removed screws from Step 3 to secure the inner door panel.
- Step 13: Turn the power back on.
- Step 14: Test the control panel.

Leaking Dishwasher
If your dishwasher is leaking, it could mean the door gasket needs replacing, or alternatively, you might need to replace or fix a faulty waterline if you determine this is where the leak is coming from.
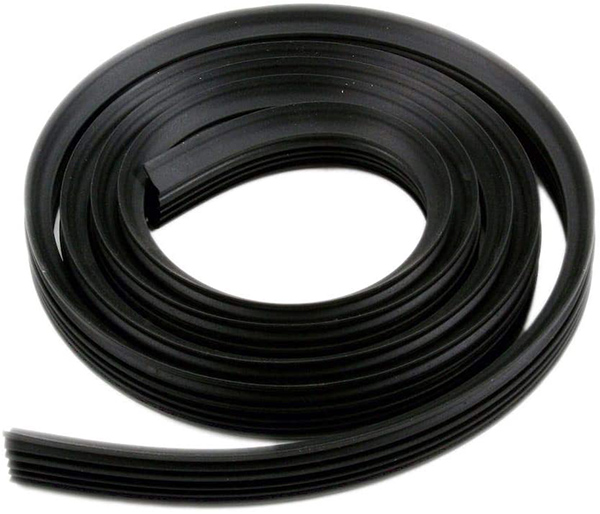
Replacing The Door Gasket
Although replacing a door gasket isn’t complicated, make sure to follow these steps carefully, and only proceed if you’re comfortable doing this type of work.
- Step 1: Open the dishwasher door
- Step 2: Remove the old gasket from the inner door channel. Take note as to which side of the gasket faces outward.
- Step 3: Clean the area with a mild detergent and a damp cloth. Wipe the area dry before proceeding.
- Step 4: Warm your new gasket with a hairdryer on a low heat setting.
- Step 5: Fold the new gasket in half to find the middle.
- Step 6: Press the middle of the new gasket into the center point at the top of the dishwasher. Make sure the correct side of the new gasket faces outward.
- Step 7: Press the gasket into the inner door channel, all the way around both sides.
- Step 8: Close and open the dishwasher door to see if the gasket is properly installed.
- Step 9: Leave the dishwasher door closed for several hours to let the gasket set, which will ensure a proper seal.
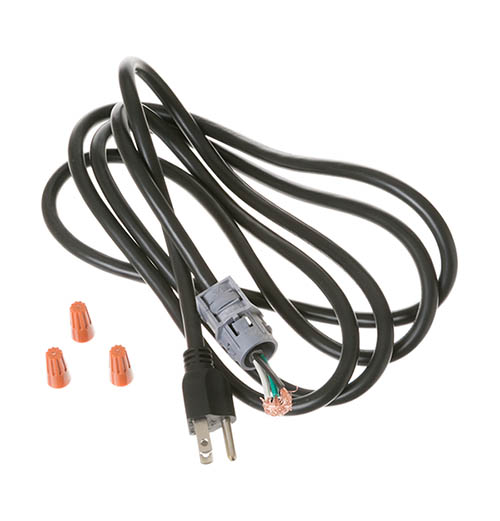
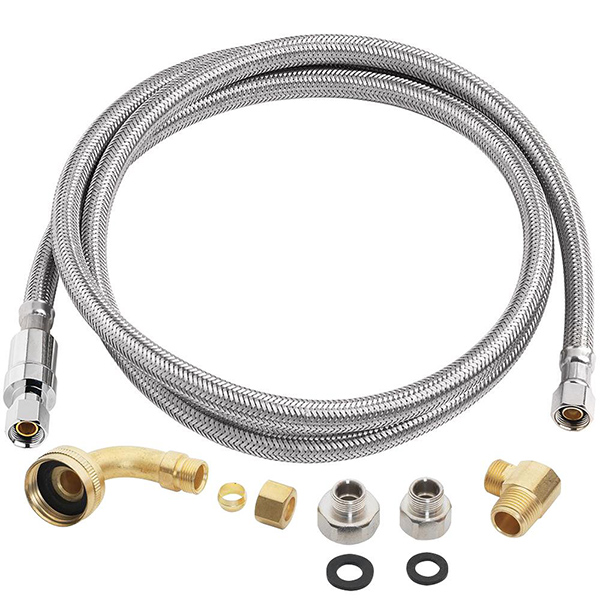
Replacing Or Fixing A Leaking Water Line
- Step 1: Shut off the water valve.
- Step 2: Disconnect the water line from the water supply and your dishwasher.
- Step 3: Connect the new water line to the water supply and your dishwasher.
- Step 4: Turn on the water valve.
Dishwasher Isn’t Cleaning Dishes Properly
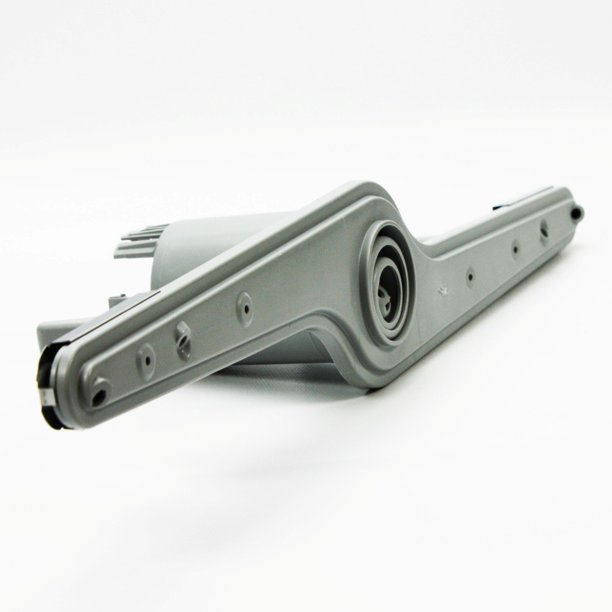
Let’s say your dishwasher runs a full wash cycle. But then, when you go to remove your dishes, they aren’t clean at all. This might be due to overfilling your unit, but if this is a common occurrence, the first thing you should do is check the spray arms. Located at the bottom and sometimes the top of your dishwasher, your unit’s spray arms shoot out jets of water and rotate during a wash cycle to clean your dishes. If the spray arm nozzles are clogged, blocked, or they don’t rotate easily, you’ve likely found the reason for your dirty dishes.
Cleaning The Spray Arms
- Step 1: Open your dishwasher.
- Step 2: Remove the bottom and/or top rack from the dishwasher to access and locate the unit’s spray arms.
- Step 3: Unscrew and remove the spray arms from the dishwasher.
- Step 4: Check the spray arm nozzles for blockages. Use a toothpick to remove any built up food particles.
- Step 5: Run the spray arms under hot tap water to rinse them thoroughly.
- Step 6: Put the spray arms back into the dishwasher and make sure to check that they both spin freely.
- Step 7: Replace the top and/or bottom rack, and test it by running anoter wash cycle.